
Last updated October 30, 2026
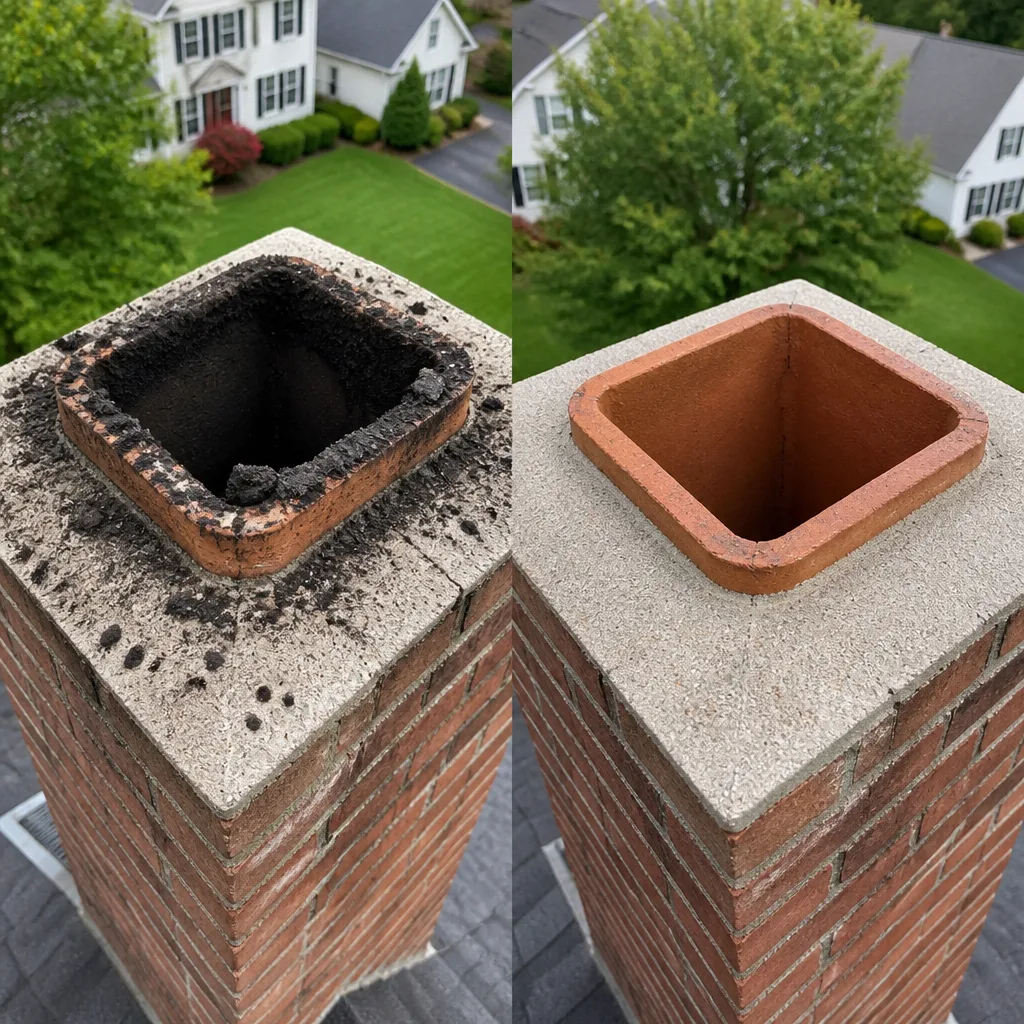 Sweep & inspection
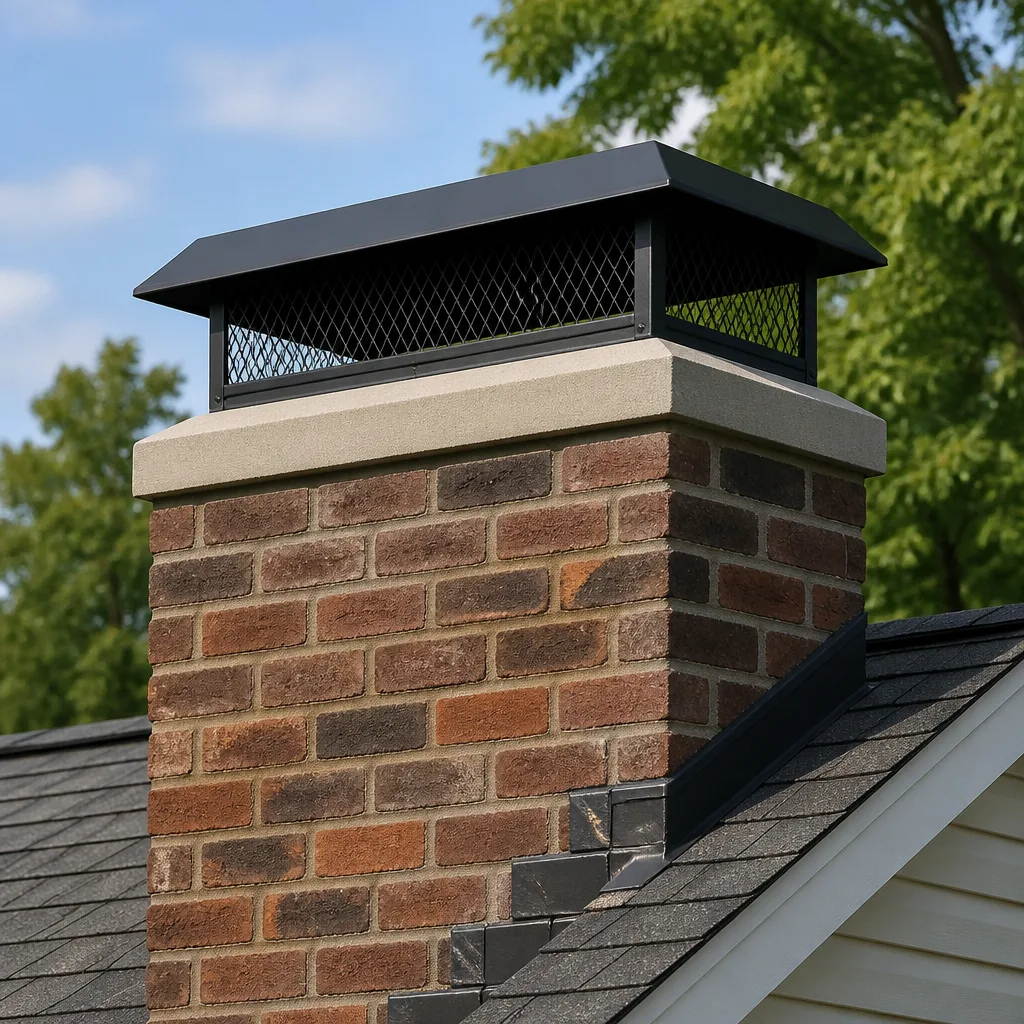 Caps & crowns
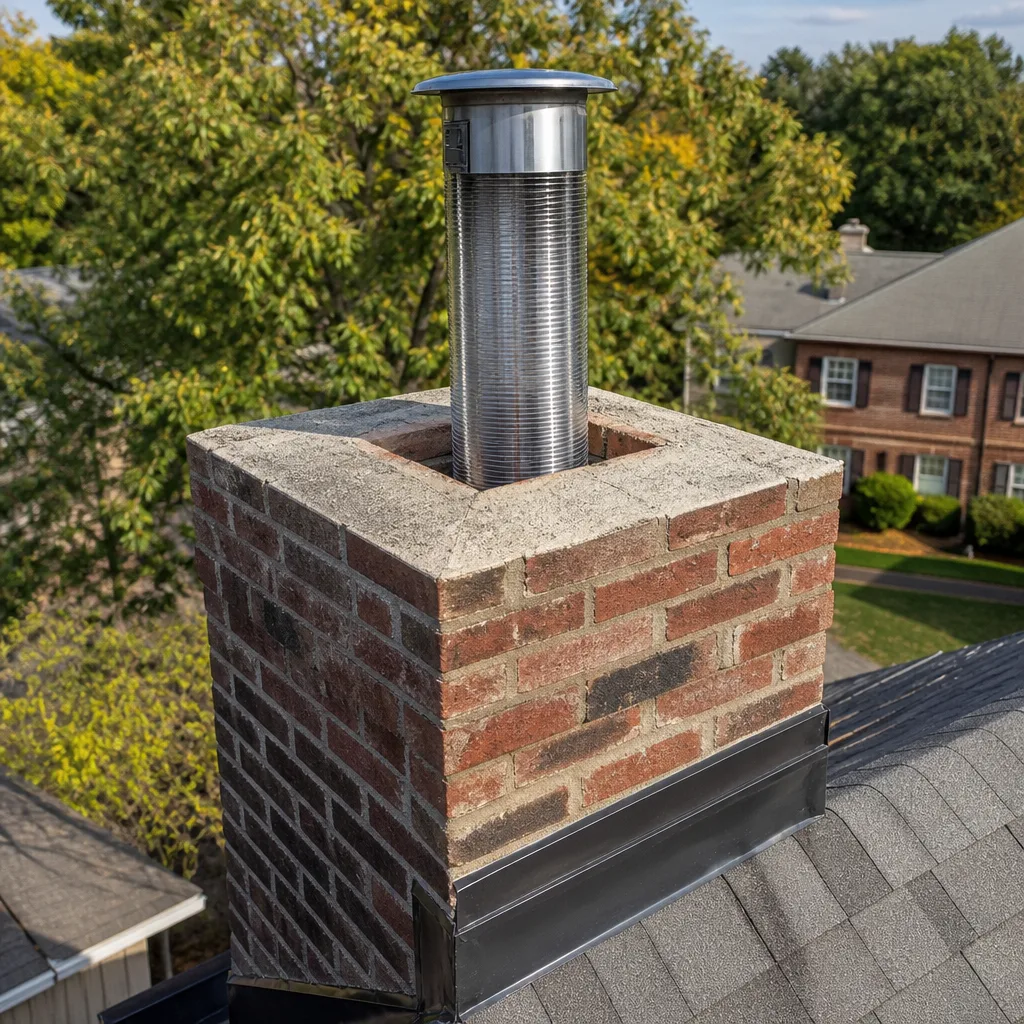 Flue relining
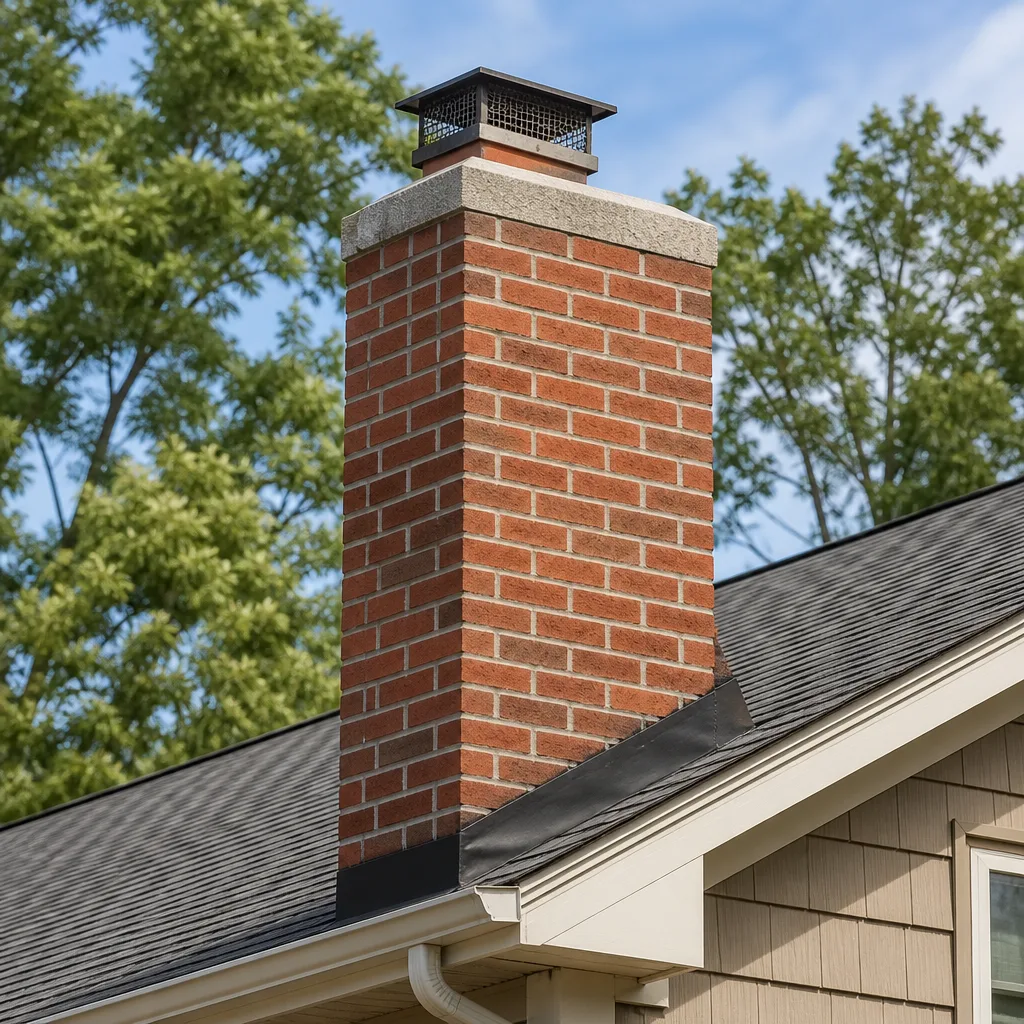 Masonry repair
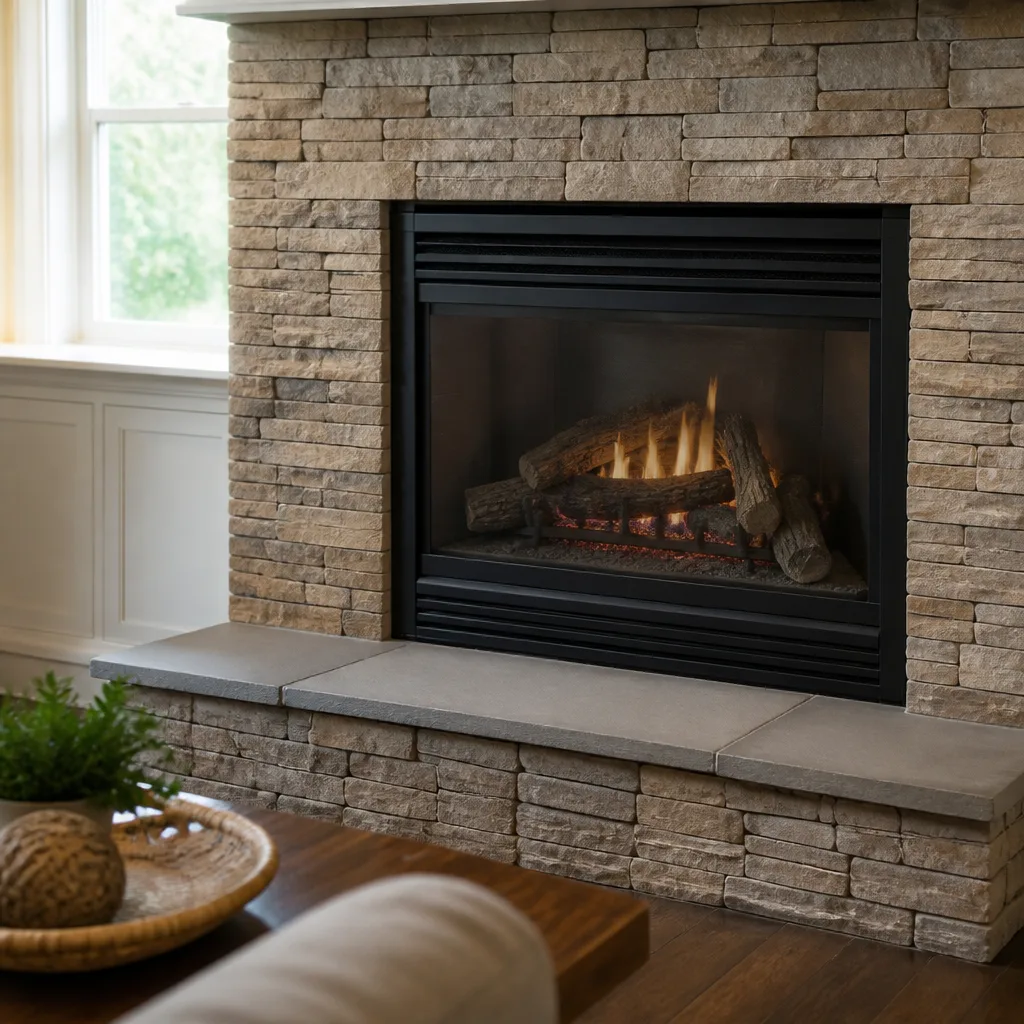 Gas fireplace service
Level 1 sweep and inspection to the NFPA 211 annual standard - flue, crown, cap, and flashing checked and photographed
Chimney sweep logs do not sweep chimneys. They loosen some creosote - which then falls where a brush and vacuum still have to collect it.
Chimney Sweep Maintenance Checklist for Temecula Homeowners
The most expensive chimney repairs we see in Temecula – spalling fireboxes, cracked flue tiles, failed dampers – almost always show early warning signs that homeowners walked past for two or three seasons because nobody told them what to look for. A hairline crack in a flue tile doesn’t announce itself. A damper that’s sticking slightly doesn’t seem urgent in October. But by the time wood smoke is backing into the living room or water is staining the ceiling below the chase, the repair bill has already tripled. This guide gives you a maintenance checklist built around what actually goes wrong in Temecula’s specific climate, not a recycled list from a national association brochure. Every item tells you what you’re looking for, where to look, and why it matters before burning season starts in late fall.
Quick Answer
A proper chimney maintenance checklist for Temecula homes covers five areas twice a year: firebox inspection (looking for cracked brick and failing mortar joints), damper operation (checking for warping and rust), flue condition (checking for creosote glaze and cracked tiles), exterior masonry and cap (looking for crown cracks and missing rain caps), and gasket seals on any stove or insert doors. Homeowners can do the visual checks from inside the firebox with a good flashlight, but a full flue inspection requires a professional’s mirror or camera system at least once a year, ideally before the first fire in November.
Styles & brands we work with
Table of Contents
- The Pre-Season Checklist: What to Inspect Before Your First Fire
- Why Temecula’s Long Dry Summer Changes What You’re Looking For
- Owner-Observable Checks vs. What Requires a Sweep’s Camera
- How Often Should You Actually Sweep? Frequency Based on Cord-Wood, Not Calendar
- The Post-Season Checklist: Protecting Your Chimney Through the Wet Months
- How to Document Your Chimney’s Condition with Photos as a Baseline
- When Cleaning Isn’t Enough: Signs You Need Repair, Not Just a Sweep
- What Makes Temecula Chimneys Different: Climate, Construction, and Local Factors
The Pre-Season Checklist: What to Inspect Before Your First Fire
Every October and November, Temecula nights dip into the 40s and fireplaces across the valley get lit for the first time in six months. Before you strike that match, here’s the pre-season sequence we recommend walking through. It takes about twenty minutes with a flashlight and a phone camera. The point isn’t to replace Chimney Sweep services – it’s to catch visible problems before they become structural failures.
1. Inspect the firebox from the inside
Open the damper fully and shine a bright flashlight up into the smoke chamber and as far up the flue as you can see. You’re looking for four things. First, cracked or missing firebrick in the firebox itself – the refractory panels and floor bricks take the brunt of thermal cycling, and in Temecula homes that sat cold all summer, the first hot fire of the season causes rapid expansion that can pop already-stressed bricks. Second, white or gray flaking on the firebox walls, which indicates water intrusion through the crown or cap. Third, dark, shiny, tar-like accumulations on the flue walls – that’s third-degree creosote, and it’s not something you can brush out. Fourth, any debris you can see: twigs, leaves, dead insects, or nesting material. Birds, rodents, and wasps love a quiet, dark flue during the months when the fireplace is dormant.
2. Operate the damper through its full range
Open and close your damper several times, listening for grinding, catching, or hesitation. In our experience, dampers in Temecula homes that go six or seven months without use often develop rust at the hinge points during the dry season, then stiffen up when the first cool nights bring morning condensation. A damper that doesn’t seal fully when closed is a hidden energy drain – heated air from your home flows straight up the flue all winter – and a damper that won’t open fully prevents proper draft and pushes smoke back into the room. If the damper handle feels loose, disconnected, or spins without resistance, the linkage has failed and needs attention.
3. Check the glass and gaskets on any stove or insert
If you have a wood stove or a fireplace insert, run your finger along the edge of the door gasket. In Temecula’s low humidity, gasket material dries out faster than it does in coastal climates. A gasket should feel springy and return to shape when pressed. If it feels flat, brittle, or crumbly, it’s lost its seal. A failed gasket lets uncontrolled air into the firebox, which makes the fire burn hotter and faster than intended, wastes wood, and can cause the stove to overfire. Replacement is simple and inexpensive when caught early. Same goes for the glass: hairline cracks grow during thermal cycling. Replace cracked glass before you fire the stove.
4. Walk the exterior
From the outside, look up at the chimney with binoculars or a phone camera on zoom. You’re checking the cap and screen (present, undamaged, not blocked), the exposed masonry face (no missing bricks, no mortar joints that appear carved out or recessed), and the crown (no cracks, no pooling water). In Temecula, where freeze-thaw cycles are minimal but summer sun is brutal, the most common exterior failure is crown cracking from thermal expansion, not ice damage. A cracked crown lets water seep down into the chimney structure and through the flue, which is how you end up with that white staining inside your firebox months later.
For a deeper dive on what a professional sweep covers, including camera inspection of the flue interior, see the Oakridge Chimney Sweep home page.
Why Temecula’s Long Dry Summer Changes What You’re Looking For
Temecula doesn’t get the heavy snow or prolonged freezes that drive chimney maintenance conversations in the Northeast or Midwest. What it does get is six months of near-zero precipitation, daytime temperatures regularly above 90°F, and low humidity that turns any organic material in or around your chimney into kindling. That’s the context most generic checklists miss entirely.
The dry season creates three specific failure patterns we see repeatedly across Temecula neighborhoods from Redhawk to Paseo del Sol to Wine Country. First, nesting activity. Birds, especially chimney swifts and starlings, and rodents look for dark, vertical cavities during spring and summer. A missing or damaged chimney cap in April means a full nest blocking your flue by October. Wasp and bee activity peaks in the summer months, and we regularly find inactive nest structures stuck to the flue walls during fall inspections.
Second, dried-out seals and gaskets. The combination of no humidity and high heat pulls moisture from rubber gaskets, damper seals, and any sealant joints. Materials that were flexible when installed in a coastal climate dry out, shrink, and crack in Temecula’s inland heat. This is why an insert gasket that sealed fine all last winter can fail over a single summer of inactivity.
Third, static creosote settling. If you didn’t have a post-season sweep after your last fire of the season, any creosote left in the flue has been sitting in 90-plus-degree heat, drying and hardening. Grade-two creosote becomes grade-three creosote over a hot summer, and what would have been a routine brush cleaning in April becomes a more involved removal job in October. The heat essentially cures the tar, binding it to the flue walls.
So the Temecula-specific pre-season checklist adds one extra item to the standard list: check for nesting material even if your cap looked fine when you last used the fireplace. Caps get damaged by wind and tree falls during the summer months, and a day’s gap in coverage is all a determined bird needs.
Owner-Observable Checks vs. What Requires a Sweep’s Camera
There’s an honest dividing line between what you can see from the firebox with a good flashlight and what genuinely requires professional equipment. Understanding that line is what prevents small problems from becoming five-thousand-dollar repairs. Here’s the breakdown.
You can see from the firebox, with a bright flashlight and a phone camera on zoom:
- The firebox walls and floor: cracked bricks, missing mortar, separations between panels
- The throat and smoke chamber area just above the firebox opening: heavy creosote, debris, obvious animal activity
- The first six to eight feet of flue: shiny vented gas-log obstruction, visible flue tile edges, bird nest material hanging in the opening
- The damper plate: rust, warping, connection integrity, whether it seals when closed
- The firebox floor-to-wall joint: gaps indicate structural movement
You cannot see without professional inspection equipment:
- Any portion of the flue above the first bend or beyond the first six feet, which is where most flue tile cracks occur due to thermal stress
- Hidden joint separations between flue tiles that appear intact but let heat and gas into the chimney chase
- Creosote thickness in the upper flue where the gases cool and condense most heavily
- The interior of the smoke chamber, a common construction defect zone many homes have from original build
- The space between the flue liner and the chimney structure
- Water entry paths through micro-cracks in the crown
The professional tools that make those invisible areas visible include mirror systems, bright flue lights, and closed-circuit camera inspection systems. A camera inspection produces real-time video and stills of the entire flue interior, which is the only way to detect a cracked flue tile that hasn’t yet produced visible symptoms inside the home. This is also where documentation matters: without a camera record of your flue condition, you’re relying entirely on trust when a contractor tells you something has “suddenly” failed. More on photo documentation later in this guide.
For homeowners in the surrounding area, our Chimney Sweep in Coto De Caza page discusses what a professional inspection includes and how to evaluate a service provider.
How Often Should You Actually Sweep? Frequency Based on Cord-Wood, Not Calendar
The old rule – “sweep every year” – is a useful default but an imprecise one. A better threshold for Temecula homeowners is cord-wood burned. How much you burn determines how frequently your flue needs cleaning, not how many months have passed since the last sweep.
Here’s our practical guidance based on actual usage patterns we see in the Temecula Valley:
- Occasional use (under 1/4 cord per season, or about fifteen to twenty fires): Sweep every other year is usually sufficient, provided you do the owner-observable pre-season checks each fall and verify no visible creosote buildup inside the firebox or throat area before first fire.
- Regular use (1/4 to 1 full cord per season, or twenty to fifty fires): Sweep annually, ideally in late spring after the burning season ends. This removes creosote before it bakes through a Temecula summer and hardens into a more difficult removal situation.
- Heavy use (over 1 cord per season, or running fires most nights from November through March): Sweep twice per season or after every cord burned, whichever comes first. Heavy use in a Temecula home often means burning full hardwood loads, which produces significant creosote even in an efficient stove.
- Green or unseasoned wood burned (any quantity): Sweep at the end of the season and check mid-season. Unseasoned wood with moisture content above 20% produces dramatically more creosote than dry wood. If you’ve burned any quantity of green wood in a Temecula fireplace, your flue almost certainly needs attention sooner than a full schedule would suggest.
Gas fireplaces and inserts don’t produce creosote the way wood does, but their venting systems still collect dust, pet hair, and disintegrated firebox media that need periodic clearing. A gas chimney check every two to three years is generally sufficient for Temecula homes unless you notice the flame pattern changing or any exhaust odor.
One adjustment worth making in Temecula specifically: if you’re burning during the shoulder seasons when evening temperatures are mild and fires are started with cold-drafting chimneys, incomplete combustion from slow-starting fires leaves additional creosote. Homes in Wine Country with exposed chimneys take longer to establish draft than homes in sheltered valley-floor neighborhoods, which means slightly higher creosote accumulation per fire.
The Post-Season Checklist: Protecting Your Chimney Through the Wet Months
Most Temecula homeowners think about the chimney in October. But the post-season work – what you do in April and May after your last fire – is what determines whether your chimney survives the wet season and arrives intact for the next burning cycle. The wet months in Temecula are comparatively mild, but the rain pattern matters: we get most of our ten to fourteen inches of annual precipitation in a handful of strong systems between December and March. A chimney that’s compromised when those system arrive absorbs that water directly into its structure.
Here’s the post-season checklist in order:
- Schedule your cleaning after the last fire, not before the first one. The reason is chemical: creosote is hygroscopic, meaning it pulls moisture from the air. A flue that sits through the wet season with creosote on its walls absorbs that moisture, and moisture plus creosote equals corrosive acids that eat at flue tiles and mortar. Clean in spring, and your flue is bare metal or masonry through the wet months.
- Cap and screen inspection after winter storms. Temecula gets Santa Ana wind events that can gust strongly enough to move chimney caps and damage screening. Check for dents, loosened fasteners, or gaps where a cap has shifted on the flue. A cap that’s slightly askew in March is a bird entry point by May.
- Seal mortar joints before the rainy season surge. In Temecula’s climate, the freeze-thaw threat is minimal, but water penetration through failing mortar joints is the primary cause of brick spalling and internal chimney damage. Repointing – the technical term for replacing damaged mortar – is maintenance, not repair, when caught early. Let it go, and the damage spreads upward and inward from the entry point.
- Check your water cap or chimney crown surface. Look for small surface cracks that opened during summer expansion or winter rain saturation. Crown cracks in Temecula chimneys typically start as hairline fractures that don’t look like much, then widen through additional thermal cycles. A small bead of sealant now prevents a much larger masonry repair later.
- Close the damper and seal off the fireplace if you won’t be using it. Some Temecula homeowners close up their fireplaces completely during the warm season with a balloon or glass door system. At minimum, keep the damper closed to prevent conditioned air from escaping all summer, and make sure the cap screen is intact so animals don’t move in during what is otherwise the perfect nesting window.
For more on what a professional repair might involve after a visual inspection reveals problems, see our Chimney Repair in Coto De Caza service page.
How to Document Your Chimney’s Condition with Photos as a Baseline
The single most useful practice we recommend to Temecula homeowners is this: take dated photos of your chimney system twice a year, every year, from the same positions. This creates a baseline that protects you when something is reported as “suddenly” failed. Here’s how to do it so it actually works.
Build your documentation sequence in four positions:
- The firebox floor and lower walls. Stand outside the fireplace opening and shoot straight in, capturing the floor bricks, the side walls, and the damper opening in a single frame. Use flash. Date-stamp the image or name the file with the date.
- The flue opening upward. Put your phone or camera just inside the firebox opening, aimed straight up, and shoot. You’ll capture the throat, smoke chamber, and the first few feet of flue. This view shows creosote accumulation and any visible debris.
- The exterior masonry from the ground. Stand at the point where you can see the full chimney face, shoot with zoom so the full structure is backlit or front-lit clearly. This captures brick face condition, mortar joint visibility, and cap/crown sightlines.
- The stove or insert door and gaskets. If applicable, shoot the door gasket close-up from the edge showing the material texture, and the glass face from the front showing any staining or cracking.
Do this in October before you start burning and again in April after your last fire. Store the photos in a dedicated folder labeled by year and season. Why this matters: if a technician tells you in 2026 that your flue tiles have “recently” cracked, you can pull up the photo from fall 2024 and ask a simple question – “Then why does the same crack appear in this image from two years ago that nobody flagged?” That’s a conversation that’s hard to have without the evidence. A good professional has no problem with an informed homeowner, and a bad one suddenly gets uncomfortable.
Camera inspection reports should be part of any professional sweep you pay for. Ask for the stills or video as part of the service. Keep those files too. In our experience doing camera inspections across Temecula’s neighborhoods, the homeowners who document their systems consistently get earlier interventions, smaller repair bills, and significantly more leverage when evaluating contractor claims.
When Cleaning Isn’t Enough: Signs You Need Repair, Not Just a Sweep
Routine sweeping addresses the material that builds up on the inside of the flue – creosote, soot, debris. It does not address the structural condition of the chimney system itself. Those are two different services with two different cost scales, and the difference matters when you’re deciding whether a cleaning appointment is enough. Here’s what separates the two.
Signals that indicate repair is needed, not just cleaning:
- Cracked or missing flue tiles. In a masonry chimney, the flue liner is what contains heat and combustion gases. A crack in any tile is a hot-gas pathway into the chimney structure. This is not something a brush fixes. The repair options include a flue resurfacing technology like HeatShield or a full liner replacement.
- Spalling brick inside the firebox. Spalling means the face of the brick is popping off in layers. This occurs when moisture inside the brick expands through heating cycles. Once spalling starts, the affected brick loses its structural integrity and the damage accelerates.
- Deteriorated mortar joints that run beyond surface weathering. Joints you can pick out with a screwdriver are failed joints, not weathered joints. Repointing is a structural repair, not a cosmetic one.
- Water staining or efflorescence on the chimney exterior or interior firebox walls. Efflorescence – the white powdery deposit – is dissolved salts being drawn to the surface by water movement. It tells you water is inside the masonry, and that water has an entry point that needs to be found and sealed.
- A damper that no longer seals at all, or a firebox-to-throat connection that’s visibly separated. Both indicate metal fatigue or structural movement beyond routine maintenance.
Several of these conditions are addressed with professional-grade products like HeatShield for restoring deteriorated flues, Gelco for waterproofing compounds, or Olympia Chimney and Famco components for repair work. These are the same trade lines working chimney professionals stock, not hardware-store substitutes. A dedicated chimney repair contractor does this work in-house. A sweep-only business tells you to find someone else. The distinction matters when you’re standing in a house with a cracked flue tile and winter coming.
What Makes Temecula Chimneys Different: Climate, Construction, and Local Factors
Temecula’s climate and building patterns create a distinct set of chimney conditions that differ from what you’d find in San Diego coastal communities or the Inland Empire’s older neighborhoods. Understanding these local factors helps you anticipate problems before they show up.
Most Temecula homes were built in three waves: the 1980s and early 1990s ranch build-out, the 2000s master-planned communities (Redhawk, Harveston, Morgan Hill, Paseo del Sol), and the 2010s Wine Country estate builds. Each era has its characteristic chimney construction. The 1980s and early 1990s homes often have masonry chimneys with traditional terra cotta flue tiles, now thirty to forty years old, which have absorbed decades of thermal cycling. The 2000s communities often used prefabricated fireplace systems with factory-built chimneys that have their own maintenance requirements, often ignored by homeowners who assume prefabricated means maintenance-free. The newer Wine Country homes often include higher-efficiency wood-burning or gas systems that require specific venting configurations.
Temecula’s specific climate factors – low-humidity summers, strong Santa Ana wind events, and concentrated winter rainfall – combine to stress chimney materials in ways that don’t appear in more moderate coastal zones. The dry summer heat causes mortar to shrink and crack. Santa Ana winds push debris and drive rain horizontally into areas normally protected. Concentrated winter storms saturate already-cracked materials and accelerate water intrusion damage.
Wildfire-adjacent building considerations also apply. Temecula sits in a wildland-urban interface zone. Proper chimney integrity isn’t just about house fires – it’s about ember resistance during wildfire events, when wind-driven embers can enter a home through a damaged chimney system. A properly capped chimney with intact screening is one of the most cost-effective wildfire hardening measures available to a Temecula homeowner. This is a factor national chimney checklists never mention.
One practical note for Temecula specifically: if you burn oak from local sources, which is common in the valley, that’s a dense hardwood that burns hot and produces a fine, hard creosote layer rather than the flaky variety. It brushes clean when addressed seasonally, but left to sit through the summer heat, it cures into a hard glaze that requires more aggressive removal methods. This is why the spring cleaning recommendation matters more here than it does in cooler zones.
Common Mistakes to Avoid
- Skipping the post-season sweep because “we won’t be using the fireplace for months.” The wet season is exactly when you want a clean flue. Creosote left in place pulls moisture and turns corrosive, doing more damage during the off-season than during active burning.
- Assuming a prefabricated metal chimney needs no maintenance. The 2000s-era homes across Temecula’s planned communities often have factory-built systems that homeowners assume are self-maintaining. Their interior liners, chase tops, and venting connections wear and need inspection just like masonry systems.
- Burning any wood that’s been sitting uncovered through what little rain Temecula gets. Wet face wood won’t burn cleanly, produces excess smoke, and coats the flue with creosote regardless of how well-seasoned it was at the stack’s core.
- Ignoring a cracked cap or missing screen because “birds haven’t nested yet.” They will, and once a nest is established, you’re dealing with a blocked flue, fire hazard, and possibly protected species that can’t be disturbed until they vacate. Repair the cap the day you notice the damage.
- Firing an insert or stove with a dried-out gasket through one more season. The fire will burn hotter than design intent, overfire the unit over time, and potential cause internal damage that never would have occurred with a properly sealed gasket.
- Using a contractor for one problem and a different contractor for another. If your chimney needs a sweep and your flue shows damage during that sweep, you’re better served by a company that can handle both under one visit and one accountability chain, rather than coordinating between a sweeper and a repair specialist who each point at the other.
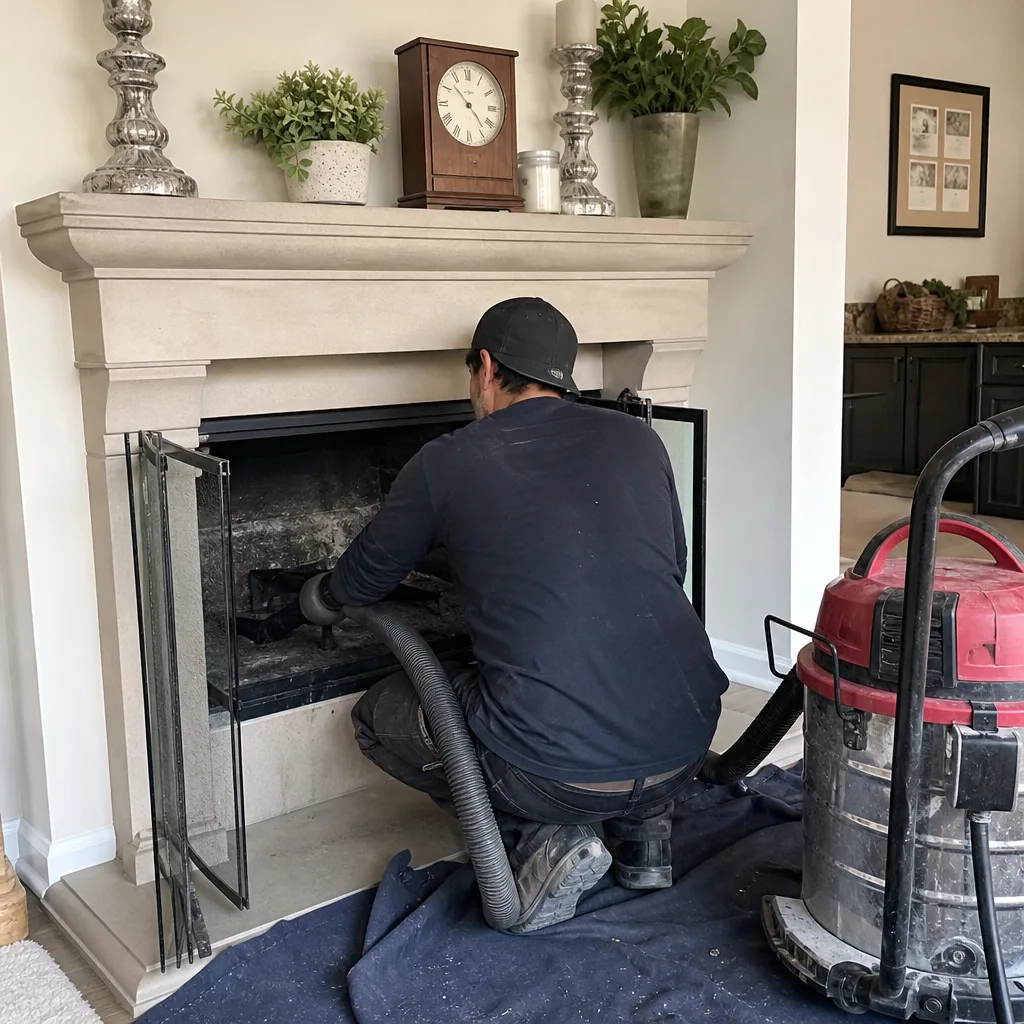
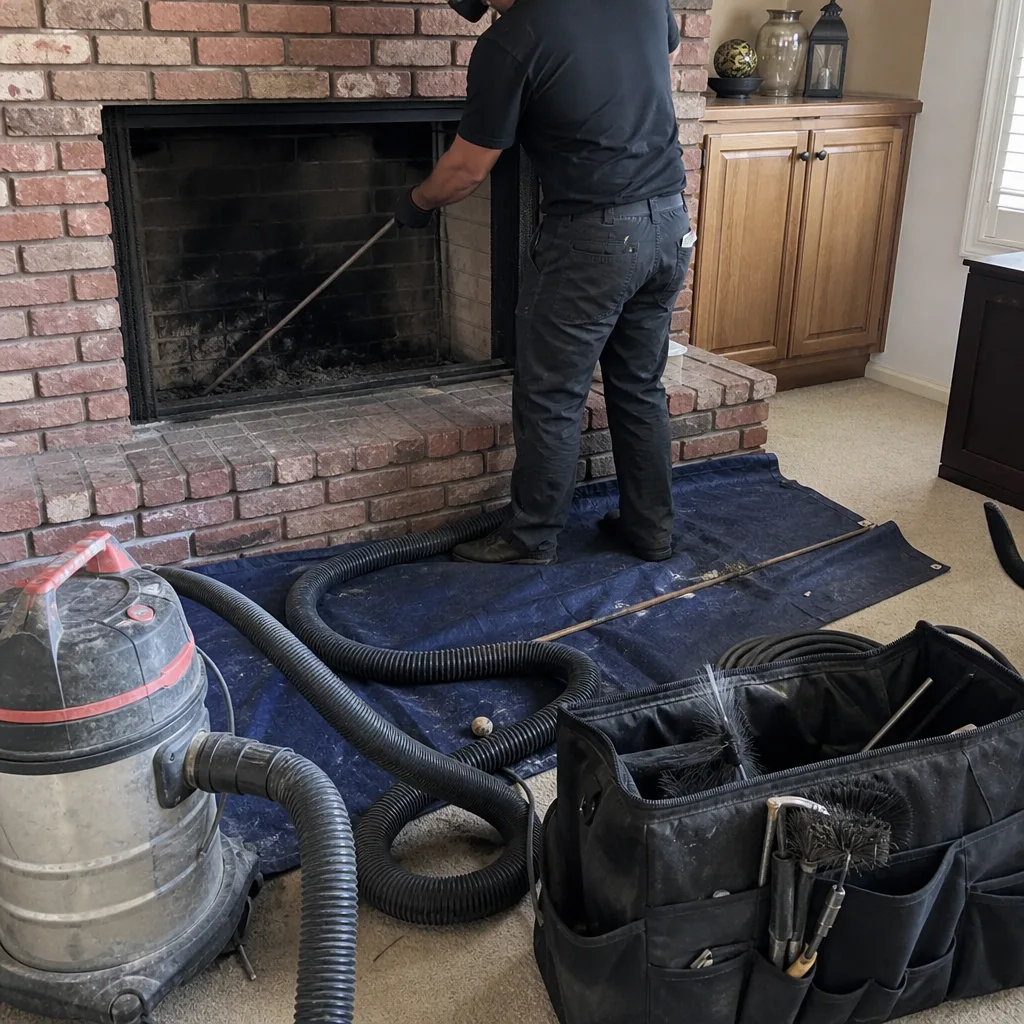
See the difference
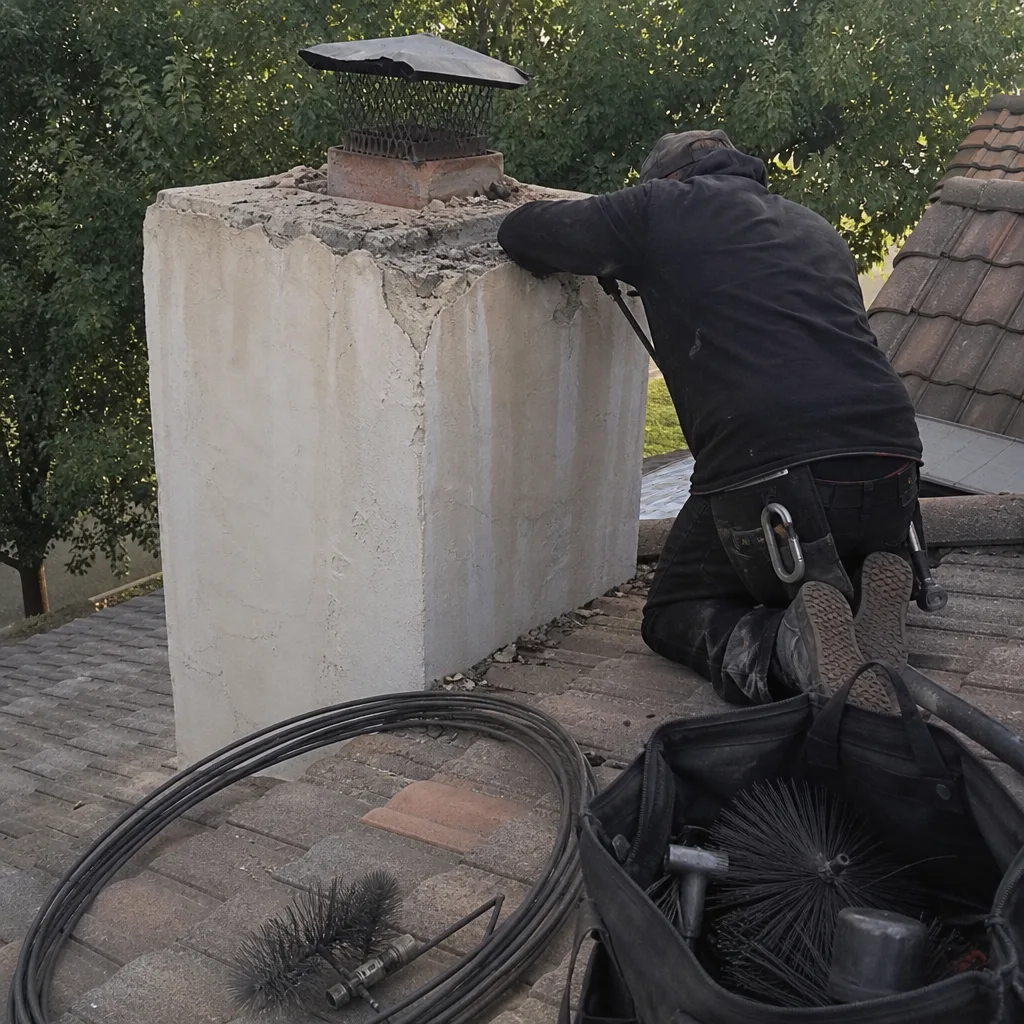 Before
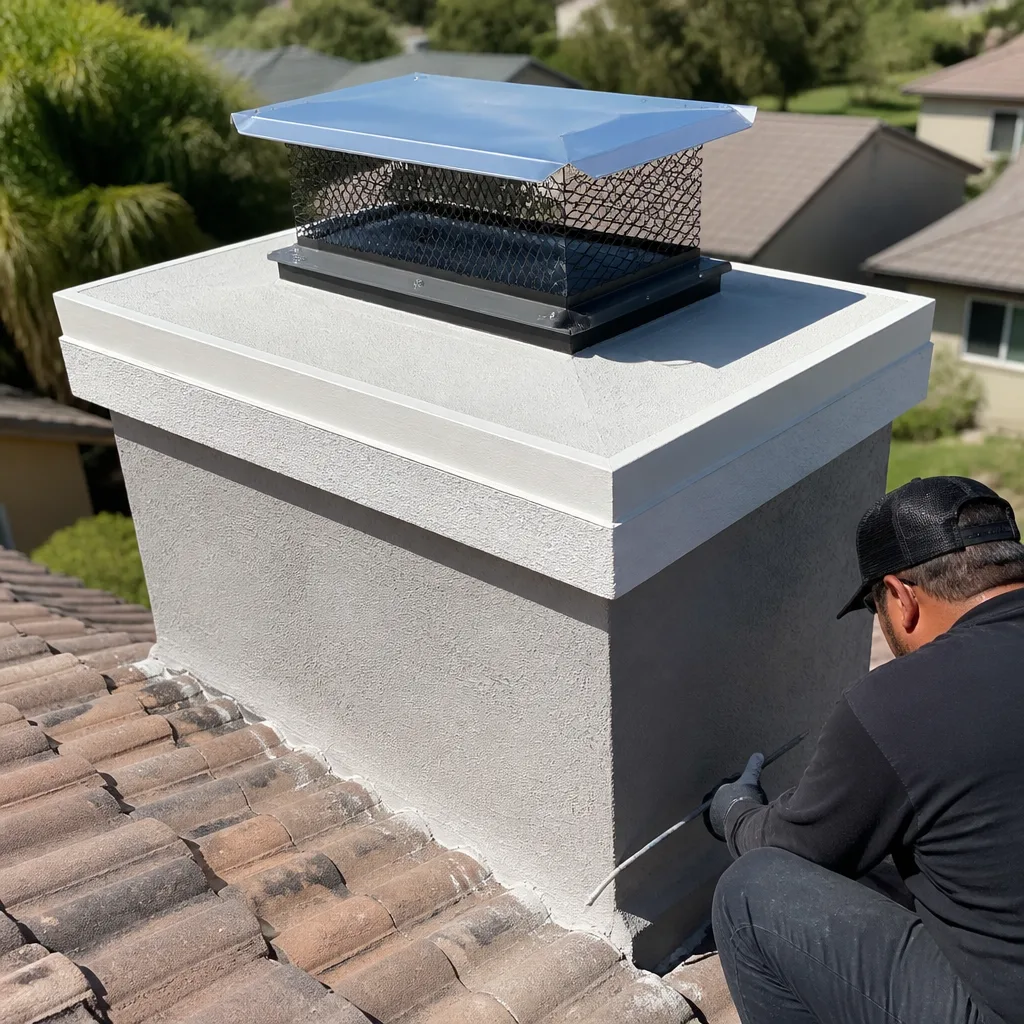 After
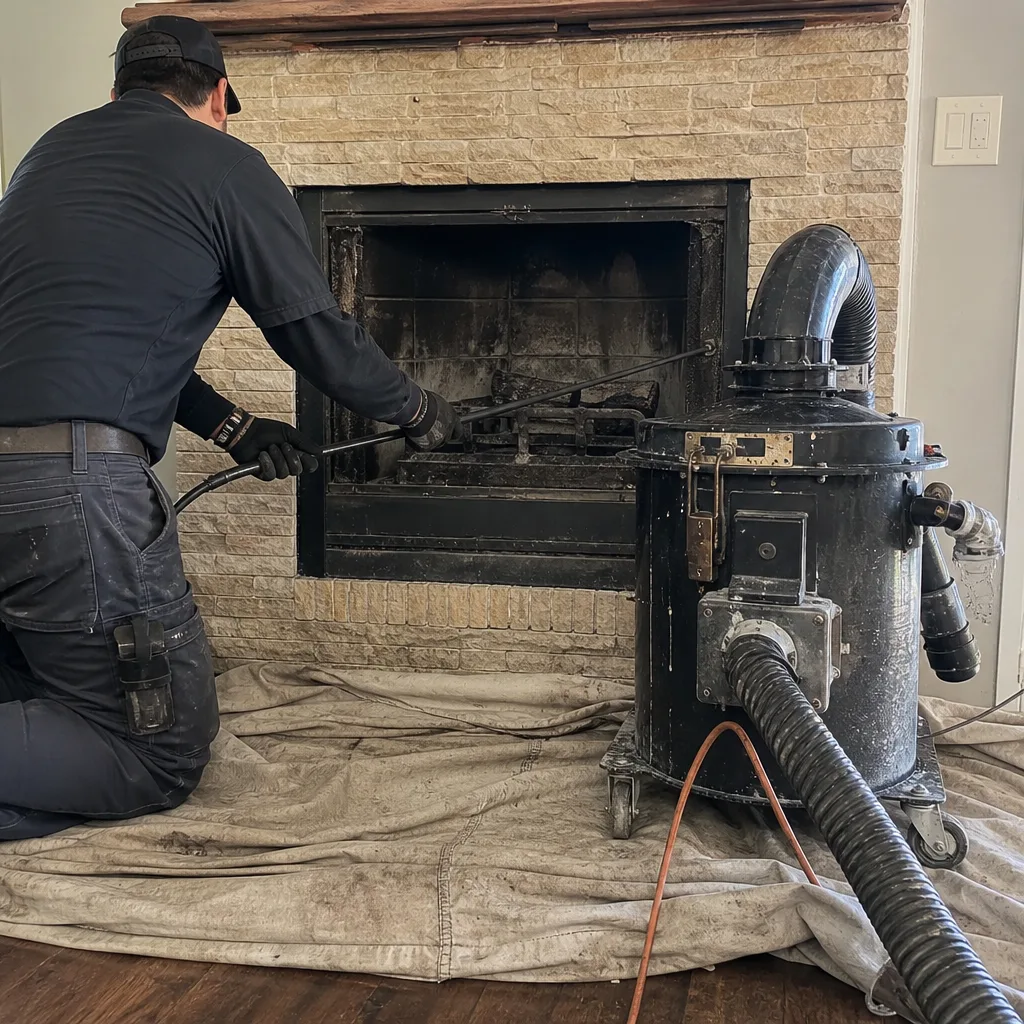 Before
 After
 Before
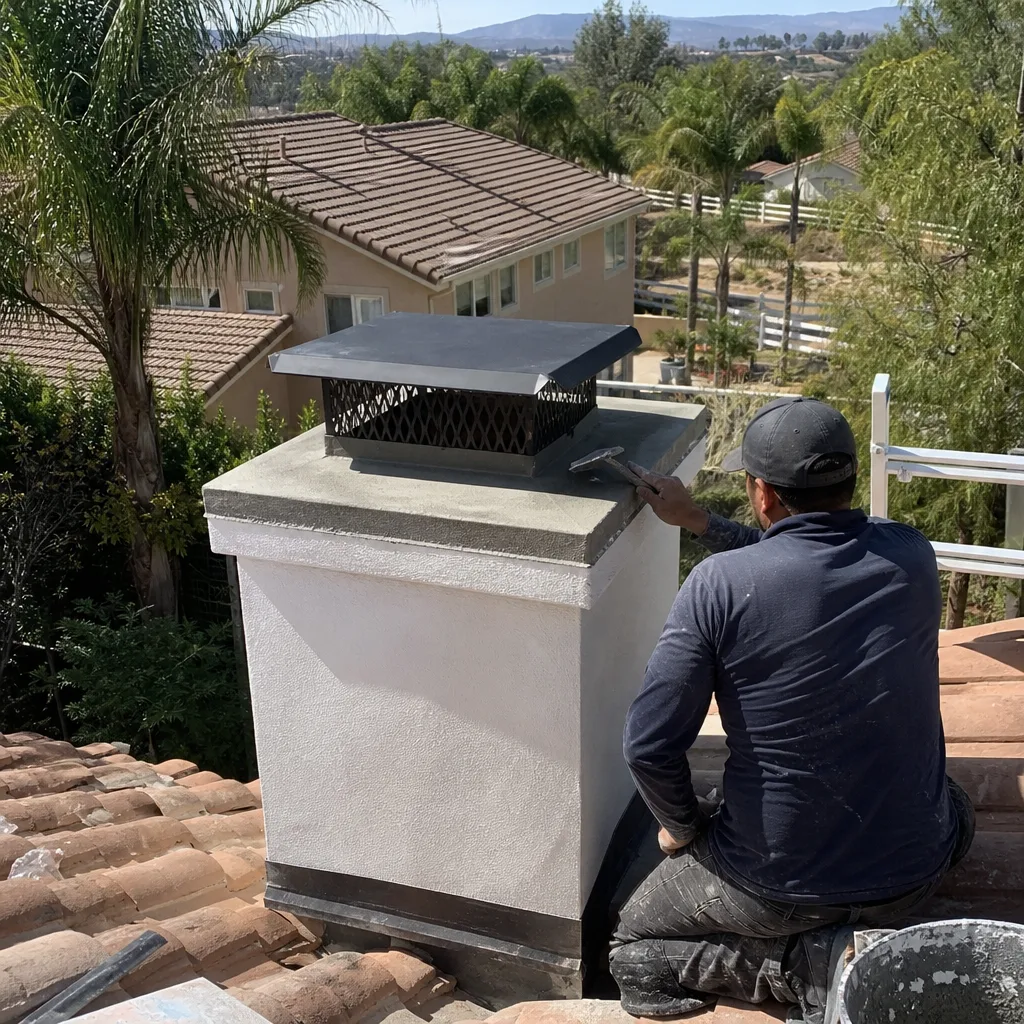 After
When to Call a Professional
Call a professional if you see any of the following: shiny, tar-like creosote inside your flue or firebox; cracked, spalling, or missing firebrick; a damper that won’t operate cleanly; water staining anywhere inside or outside the chimney structure; any sign of animal nesting in the flue; or smoke backing into the room when you burn. Also call if you’ve burned more than a full cord of wood since your last sweep, regardless of what you can see. Oakridge Chimney Sweep offers free estimates in Temecula – call (866) 563-3051 to schedule an inspection, and we’ll give you the camera evidence before we recommend anything.
Frequently Asked Questions
A standard chimney sweep in Temecula typically ranges from $180 to $300 for a basic cleaning and inspection, with additional cost for camera inspection, creosote removal beyond routine brushing, or any repair work identified during the inspection. The final price depends on the flue length, level of creosote buildup, and whether it’s a masonry or prefabricated system. Call (866) 563-3051 for an exact quote on your specific chimney – estimates are free, and we’ll give you a flat price before scheduling.
For most Temecula homeowners who burn regularly, once a year is the right cadence, ideally in spring after the burning season ends. Homes that burn less than a quarter cord per season can often go every other year, while homes burning a full cord or more should consider twice per season. The deciding factor is how much wood you actually burn, not how many months have passed.
Not necessarily – it depends on the extent and location of the cracking. Hairline cracks in a single tile can sometimes be addressed with a resurfacing system like HeatShield, which seals and restores the existing flue without a full liner replacement. If the damage is extensive or the tiles have separated, a full liner replacement with a system like DuraFlex may be the right call. You should insist on camera evidence before making that decision. We won’t recommend a liner unless we can show you the camera images that justify it.
You can remove loose, flaky creosote from the lower portion of a flue with a basic brush, but the upper flue, smoke chamber, and any area beyond the first bend require professional equipment and training to access safely and thoroughly. More importantly, a brush doesn’t tell you whether your flue tiles are cracked, your crown is compromised, or your damper is about to fail. The inspection is the part that matters most. If you’re going to DIY anything, do the visual checks described in this guide, not the cleaning, and explore our more guides & resources for deeper maintenance strategies.
Water intrusion through cracked crowns and failed mortar joints is the most common structural problem we see in Temecula chimneys, driven by the summer heat cycling and concentrated winter rainfall that characterize our climate. The dry summers crack the materials, and the wet winters push water into those cracks. By the time the homeowner sees staining or spalling, the damage has usually been underway for multiple seasons.
It is, in the sense that both are fire-hazard sources that most Temecula homes have in the same wall space and that follow the same maintenance logic: combustible material accumulates in a confined vent, restricts airflow, and eventually ignites. Clogged dryer vents are one of the leading causes of residential fires, and the cleaning mechanism is similar to chimney sweeping. For more on that service, see our Dryer Vent Cleaning in Coto De Caza page. We offer both services so both fire-hazard sources get addressed under one scheduled visit.
The Bottom Line
A useful chimney maintenance checklist for a Temecula home is built around failure modes, not calendar events. Do the owner-observable checks twice a year: pre-season in October and post-season in April. Look at the firebox, the damper, the gaskets, and the exterior masonry. Sweep based on how much you actually burn, not just how much time has passed. Document everything with photos. And when something looks wrong – or when you’ve burned enough that things should probably be checked by someone with a camera rig – don’t guess. Oakridge Chimney Sweep handles the full scope from sweep to repair, using professional-grade materials from the same trade brands certified chimney specialists rely on, so one call covers cleaning, inspection, and any repair the inspection turns up. Call (866) 563-3051 for a free estimate, and we’ll look with you, not just at you.
Written by the team at Oakridge Chimney Sweep, serving Temecula since 2011.